Showing posts with label snowflakes. Show all posts
Tuesday, January 8, 2013
Just a Little Tease....
A sneak peek at the base of a magical and whimsical snowman creation that will debut on the PFATT Marketplace on the 10th of January. I will be posting more photos so stop by again!
Labels:
diorama,
hand sculpted,
PFATT Marketplace,
primitive snowman,
putz,
snowflakes,
vintage style,
winter
Tuesday, September 4, 2012
Winter Sky Santa from a re-purposed vanilla bottle
At six inches tall with loads of charm, Winter Sky Santa would be a delightful addition to your Santa collection. Hand sculpted with air dry clay, this jolly little fella is a one of a kind original. Stop by and see him here: Winter Sky Santa
Saturday, January 7, 2012
The hippie in me....
More of my "hippie art" as hubby calls, it, which has brought out the freedom in creativity in me I suppose. My first one will be a Valentine piece, with love all through it. Still pondering the color scheme, but I think I have it nailed. First off I need to gesso this though as the texture will wipe off if I don't.
A sunny sunflower I started last Autumn before everything got crazy around here. Time to add another layer of paint, and wipe and dab, and push color around.
Something for winter, that I didn't get to finish, so I thought I'd better get to this one and not leave it sitting around. I will finish it and then add it to my website or etsy shop, haven't decided yet. There are so many possibilities for themes with these, but I first want to try some random abstracts, just for giggles. What medium gives you the most freedom of expression?
A sunny sunflower I started last Autumn before everything got crazy around here. Time to add another layer of paint, and wipe and dab, and push color around.
Something for winter, that I didn't get to finish, so I thought I'd better get to this one and not leave it sitting around. I will finish it and then add it to my website or etsy shop, haven't decided yet. There are so many possibilities for themes with these, but I first want to try some random abstracts, just for giggles. What medium gives you the most freedom of expression?
Labels:
abstracts,
hippies,
mixed media art,
painting,
snowflakes,
sunflowers,
Valentines
Sunday, December 12, 2010
Paper Snowflake Tutorial
Paper snowflakes are so easy that I learned to do them as a child. We would start with an 8.5 by 11 inch sheet of paper.
Take a corner and bring it over to the opposite edge, making a square. Cut off the excess strip.
I know this doesn't look square, it's just the way to fold makes the paper sit on the tablecloth. Now,
fold your paper over in half, hot dog style. Next you will fold this in half, hamburger style. See below.
Now you have a smaller square. Next you will fold the square on the folded point in thirds see below. This is folded to the outer edge, but it's popped up.The upper edges should be open edges, no folds.
Now take a peek inside and see the lower edge in there? You will want to cut the top off even with the shortest corners.
Taa daah! Oh, that notebook in the background is hubby's day timer. It's his life, if it ever disappeared he would need therapy. ;-)
Now you decide which edge will be your longer points and start cutting down into the middle of the cone shape, twisted and curving to your heart's content.
Then you start on the other side and work your way down to the small point, but not all the way through.
You should have something that looks like this. Now start on the outside edges and make little nips and cuts here and there if you like. Or you can stop where you are and open. I personally and detail crazy so I keep going.
You can even cut the very tip at the bottom point of your shape.
Now you are ready for the unveiling of your beautiful creation. Isn't this exciting??? I love to see them unfold and open up as a snowflake blooming.
Whaalaa! So now, you may say, hmmmm I want the shorter points even shorter so go back and fold this all up, (good luck) and trim off the tips of the shorter points if you wish. Or, next time, make them short in the first place, ;-).
You can prick a tiny hole and string filament through one point to hang from a window, or tree, or where ever. I usually iron these flat with a dry iron after I'm done making them. Good luck, and have fun!
Take a corner and bring it over to the opposite edge, making a square. Cut off the excess strip.
I know this doesn't look square, it's just the way to fold makes the paper sit on the tablecloth. Now,
fold your paper over in half, hot dog style. Next you will fold this in half, hamburger style. See below.
Now you have a smaller square. Next you will fold the square on the folded point in thirds see below. This is folded to the outer edge, but it's popped up.The upper edges should be open edges, no folds.
Now take a peek inside and see the lower edge in there? You will want to cut the top off even with the shortest corners.
Taa daah! Oh, that notebook in the background is hubby's day timer. It's his life, if it ever disappeared he would need therapy. ;-)
Now you decide which edge will be your longer points and start cutting down into the middle of the cone shape, twisted and curving to your heart's content.
Then you start on the other side and work your way down to the small point, but not all the way through.
You should have something that looks like this. Now start on the outside edges and make little nips and cuts here and there if you like. Or you can stop where you are and open. I personally and detail crazy so I keep going.
You can even cut the very tip at the bottom point of your shape.
Now you are ready for the unveiling of your beautiful creation. Isn't this exciting??? I love to see them unfold and open up as a snowflake blooming.
Whaalaa! So now, you may say, hmmmm I want the shorter points even shorter so go back and fold this all up, (good luck) and trim off the tips of the shorter points if you wish. Or, next time, make them short in the first place, ;-).
You can prick a tiny hole and string filament through one point to hang from a window, or tree, or where ever. I usually iron these flat with a dry iron after I'm done making them. Good luck, and have fun!
Labels:
paper crafts,
snowflakes,
tutorials,
white christmas
Friday, December 10, 2010
Snowflake Tree
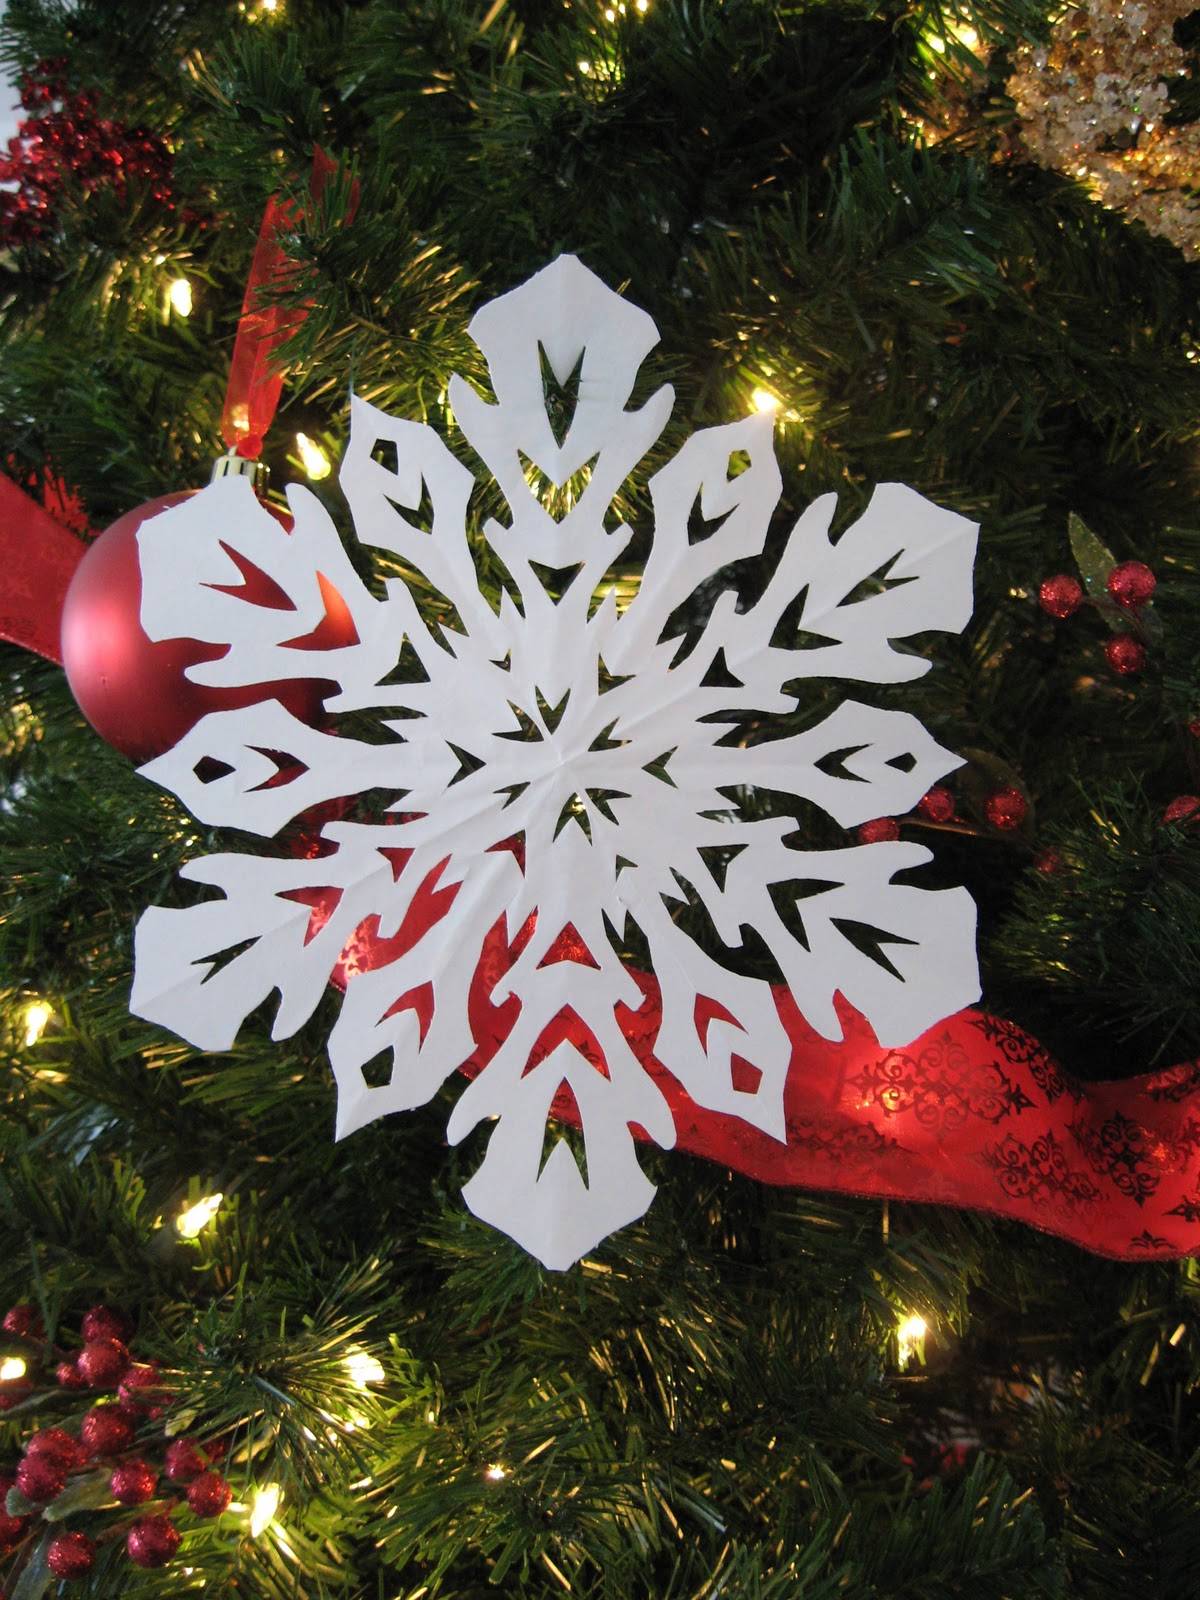
The other night some friends had what they call a snowflake party. They invite several people/families to come over and help cut out snowflakes to decorate their tree. There are no other ornaments on the tree, just snowflakes. It was a nice get together, with food and chatting, and then they got to playing the piano and there was singing and a lot of fun. I LOVE cutting out paper snowflakes! Here's one that I did to show how my mom taught us to cut snowflakes. No two are a like, as in real snowflakes, and they turn out beautifully. Check back and I will give instructions if you are interested. So now, others know what Mom taught us, and her legacy lives on...... in snowflakes.
Subscribe to:
Posts (Atom)